
How to Fit a Bridle Correctly for Comfort
Why a Well-Fitted Bridle Matters
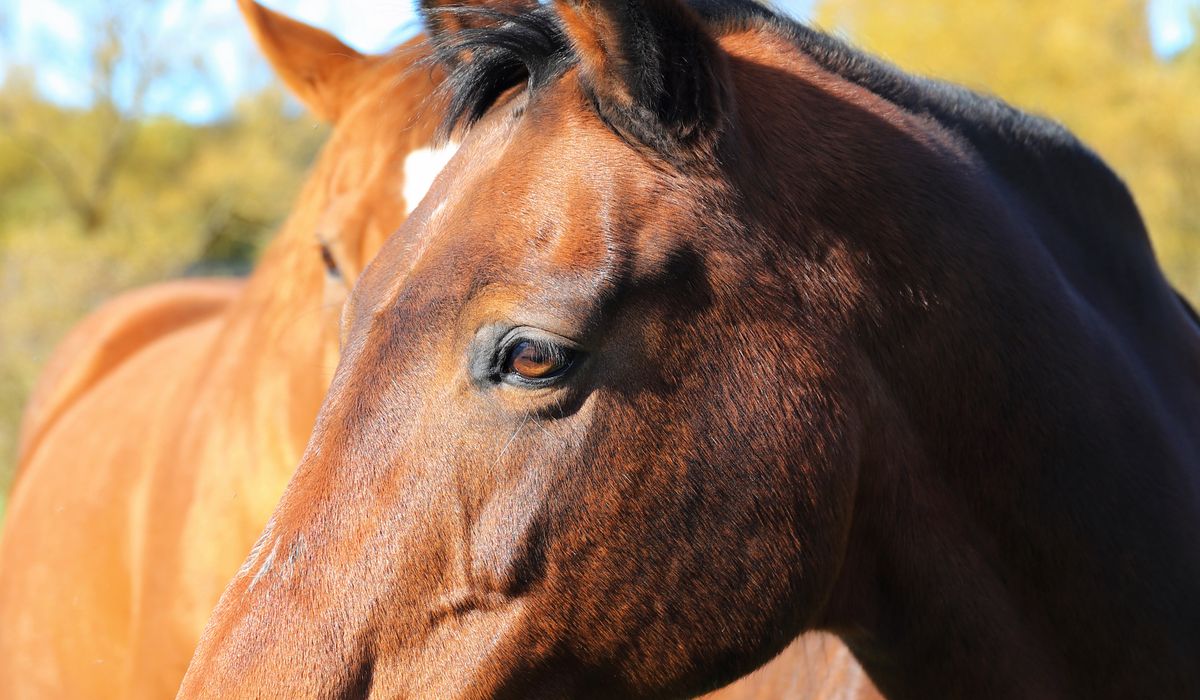
A bridle is more than a piece of tack; it is the primary means of communication between you and your horse. When it fits correctly, it allows you to guide and control your horse with the lightest of aids. When it doesn't, it can cause pressure points, rubbing, and even pain, leading to resistance, head tossing, or a dulled response. In the UK's changeable weather, from muddy winter fields to dusty summer rides, a bridle that shifts or pinches can quickly become a source of discomfort. Taking the time to fit it properly is one of the kindest things you can do for your horse.
Before You Begin: Clean Hands and Patience
Fitting a bridle is not a race. Work in a safe, well-lit area, ideally with a mirror or a trusted friend to help. Start with clean hands and a clean bridle. Dirt or dried sweat on the leather can make adjustments stiff and can mask where rubbing occurs. Wipe the bridle with a damp cloth and check for cracks or worn stitching. Your horse should be calm and tied up safely or held by someone experienced. Patience is key: make one adjustment at a time, then step back and assess. Never force a buckle or tug on the leather. If your horse is fidgety, take a break and try again later. A relaxed horse will give you a much more accurate picture of how the bridle actually sits.
Checking the Browband
The browband runs across the horse's forehead, just below the ears and above the eyes. It should sit comfortably without pinching the base of the ears or pressing on the bony ridge above the eyes. A common mistake is having it too tight, which can cause the horse to rub its head or become head-shy. As a guide, you should be able to fit one finger between the browband and the forehead. If it is too loose, the bridle may slip sideways. Check that the browband is not twisted and that the loops holding the cheekpieces are not pulling. For horses with a wider forehead, you may need a larger browband; for finer types, a smaller one prevents the bridle from sliding back. Always ensure the browband sits level and does not catch the base of the ears, as this is a sensitive area.
Adjusting the Noseband
The noseband has several important jobs: it helps keep the bit steady, prevents the horse from opening its mouth too wide to evade the bit, and, in some designs, applies pressure to the nose. Regardless of type—cavesson, flash, drop, or grackle—the basic fit principles are similar. The noseband should sit about two fingers' width below the cheekbone, on the flat part of the nose. It should not sit too low, where it can press on the soft cartilage, nor too high, where it can rub against the cheekbone. You should be able to fit two fingers comfortably between the noseband and the bridge of the nose. For a cavesson, the strap under the chin should also allow two fingers. If the noseband is too tight, it can restrict breathing and cause swelling. If it is too loose, it may slip and the bit can move. Check that the noseband is not pinching the skin and that the padding (if any) is smooth and clean.
Setting the Bit Height
Bit height is critical for your horse's comfort. A bit that is too low can bang against the teeth, while one that is too high can cause rubbing at the corners of the mouth and may even cut into the lips. The goal is to have one or two wrinkles at the corners of the mouth. This means the bit sits snugly against the lips without being tight. To adjust, use the cheekpieces: raise or lower the bit evenly on both sides. The bit should rest on the bars of the mouth (the gap between the incisors and molars) and not slide up onto the teeth. Check the width of the bit, too. It should extend slightly beyond the mouth—about 1 cm (half an inch) on each side—so it doesn't pinch the lips. Finally, check the throatlash: you should be able to fit two fingers between the throatlash and the horse's cheek. A throatlash that is too tight can cause discomfort and restrict breathing, while one that is too loose allows the bridle to slip.
Final Checks and Ongoing Comfort
Once you have adjusted every part, put the bridle on and off a few times to see how it settles. Ride in it for a short session and then check for any signs of rubbing: red marks, hair loss, or swelling. Sweat marks can also show where pressure is uneven. Clean your bridle after every use, as dirt and salt can stiffen leather and cause chafing. Remember that your horse's shape can change with fitness, weight, and even the season—a bridle that fits perfectly in spring may need adjusting by autumn. Make it a habit to run through this checklist monthly, or whenever you notice your horse shaking its head or resisting the bit. A comfortable bridle is a quiet bridle, and a quiet bridle is the foundation of a happy partnership, whether you are hacking through a muddy lane or schooling in the arena.
tag: Tack Guide

Sophie Bennett Author
Wear high-visibility clothing, ride single file and thank drivers. Plan routes away from busy times and check traffic conditions before setting out.
YOU MAY ALSO LIKE
Safe Hacking on British Roads: A Rider's Checklist
Sep 5
10Mud fever causes scabs and swelling on lower legs. Keep skin dry, use barrier creams and seek veterinary advice for severe or spreading cases.
read more
Recognising and Treating Mud Fever in Horses
Sep 1
10Straw, shavings and pellets each offer different absorbency and cost. Consider storage, disposal and horse allergies before making your choice.
read moreHorse Care
-

ERRIC CATONA
Introduce new horses over a fence first to reduce injury risk. Monitor behaviour closely and provide plenty of space and hay.
May 19, 2016 at 5.12 pm
Reply
ERRIC CATONA
Horses can overheat when rugged too heavily in mild British winters. Check ears and armpits, and adjust layers as temperatures change daily.
May 19, 2016 at 5.12 pm
Reply -
ERRIC CATONA
Harrowing, resting and removing ragwort improve pasture quality. Rotate grazing areas to prevent poaching and reduce worm burden naturally.
May 19, 2016 at 5.12 pm
Reply
Stable Management
Your email address will not be published.